Schedules
Overview
This feature allows you to have multiple pre-built schedules and change between them as needed. This can be useful for managing special events and digital signage. You must have at least one schedule in order for events to appear in the mobile app.
How to Create a New Schedule
Go to Scheduling > Schedules in the main navigation
Click the “New Schedule” button in the top right
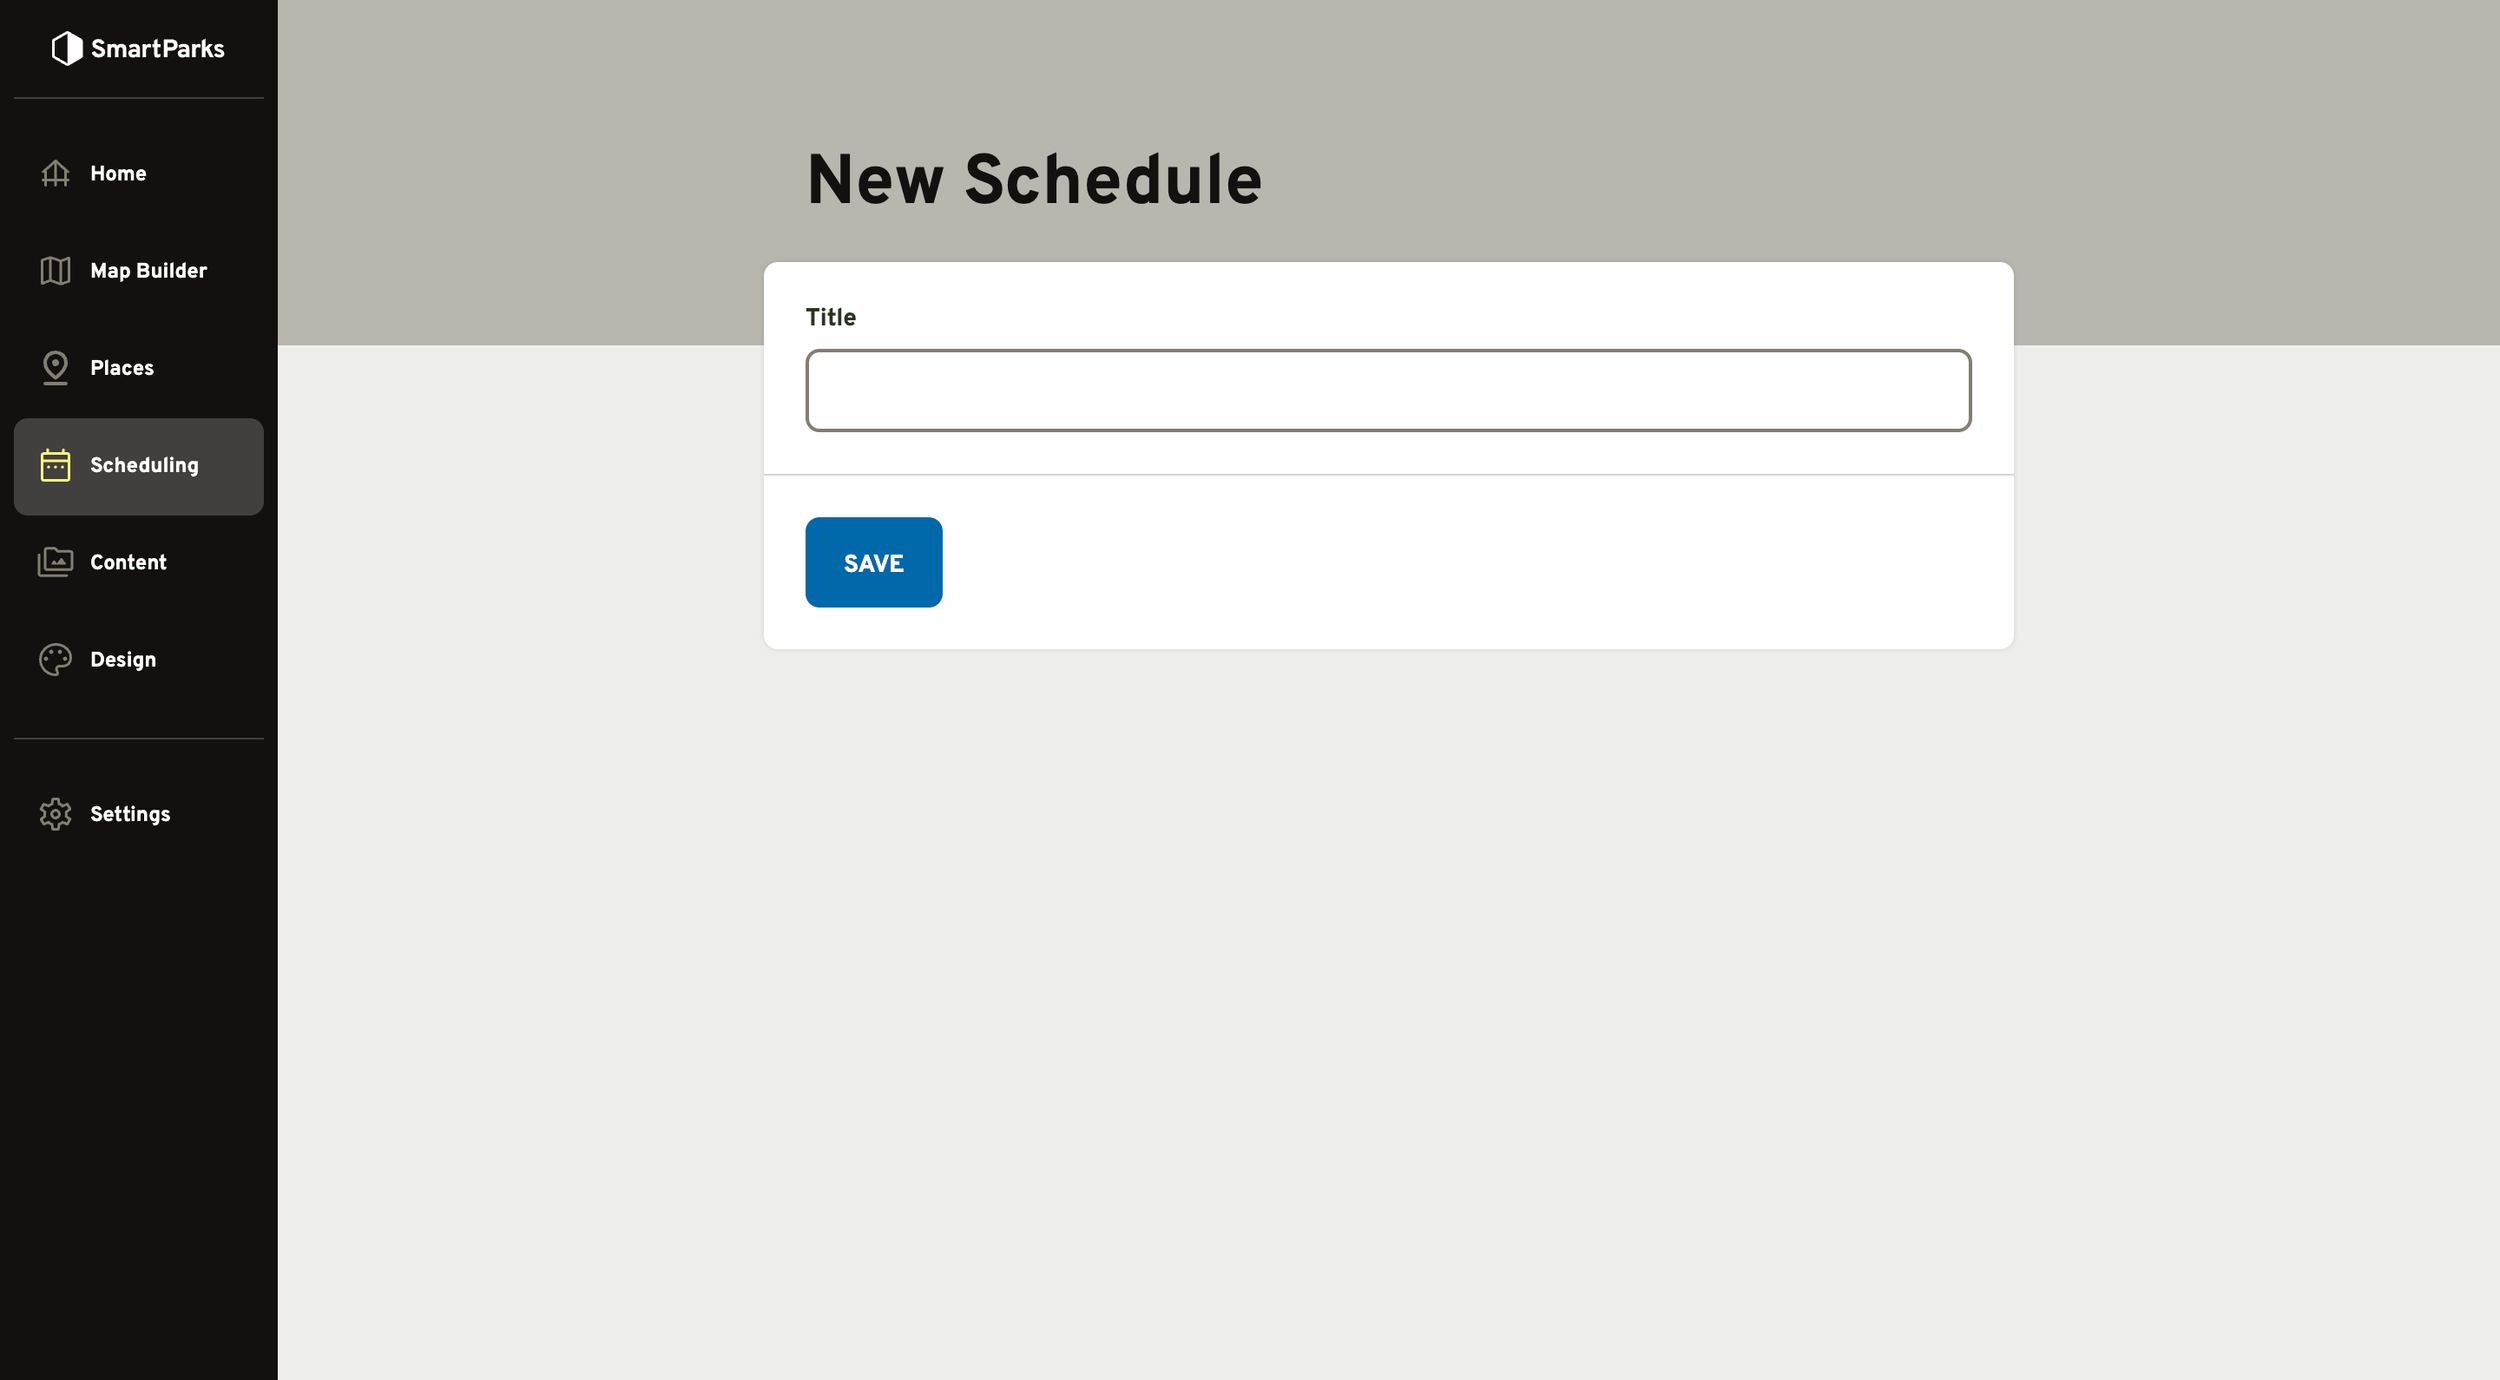
Fill out the form and click the “Save” button at the bottom
Title (required): This is the name that will be displayed in the admin interface to identify the schedule. It is not displayed publicly.
How to Add Events to Schedule
Go to Scheduling > Schedules in the main navigation
Click the Title of one of the schedules in the list
Select all of the events you’d like to include in that schedule and click the “Save Schedule” button at the bottom
How to Update Schedule Settings
Go to Settings > Mobile App in the main navigation
Update the schedule settings and click the “Save” button at the bottom
Schedule: This determines which schedule will display in the Today tab in the mobile app
Show event end times: By default, only the beginning are displayed in the mobile app. When this is selected, the end times will also be shown for all events.
